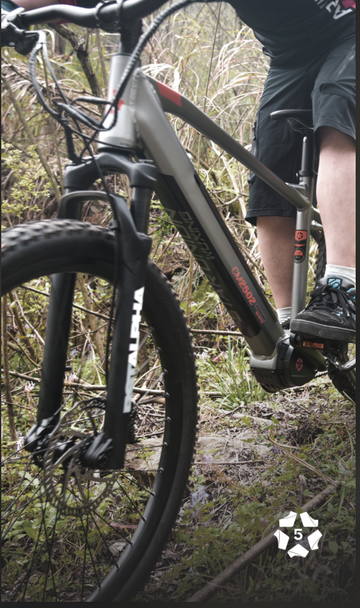
Hydraulic disc brake systems are widely used in modern e-bikes due to their superior braking performance and precise control. Although installing a hydraulic disc brake system can be relatively complex, with the right method, you can complete the installation at home. This article provides a detailed guide on how to install hydraulic disc brakes to help you install them successfully and ensure safety and performance.
1. Preparation
Before you begin installing the hydraulic disc brake, ensure you have the following tools and components:
· A new hydraulic disc brake system (including brake discs, brake calipers, brake lines, etc.)
· Wrenches and screwdrivers
· Brake fluid
· Brake fluid syringe
· Hydraulic hose (if needed)
Make sure your e-bike frame and wheels are compatible with hydraulic disc brakes, and that your frame has a disc brake mount.
2. Remove the Old Brake System
If your e-bike is already equipped with traditional mechanical disc brakes or another braking system, you will need to remove the old brake system first. Follow these steps:
1. Use a wrench or screwdriver to remove the old brake calipers.
2. Remove the old brake discs and brake lines.
3. Clean the brake system installation area to ensure there is no dirt or debris.
3. Install the Brake Disc
1. Choose the Right Brake Disc: Select the appropriate size and model of hydraulic brake disc (usually 160mm, 180mm, or 203mm) based on your e-bike specifications.
2. Install the Brake Disc: Mount the new brake disc onto the wheel hub and secure it with screws. Be careful not to over-tighten the screws to avoid damaging the brake disc.
4. Install the Brake Caliper
1. Install the Brake Caliper Mounting Bracket: Choose the appropriate brake caliper mounting bracket for your frame and brake system type. Install the bracket onto the frame's brake mount.
2. Install the Brake Caliper: Mount the new hydraulic brake caliper onto the bracket. Ensure the brake caliper is aligned with the brake disc.
3. Adjust the Caliper Position: Adjust the brake caliper to maintain an even gap between the brake pads and the brake disc. Typically, the gap between the brake pads and the disc should be 1-2mm.
5. Install the Brake Line
1. Connect the Brake Line: Use the hydraulic brake line to connect the brake caliper and brake fluid reservoir. Ensure the connection is tight and leak-free.
2. Secure the Brake Line: Use zip ties to secure the brake line, ensuring it does not rub against the frame or tires.
6. Add Brake Fluid
1. Prepare the Brake Fluid: Choose the appropriate brake fluid for your hydraulic brake system. Typically, hydraulic brake systems use mineral oil or synthetic oil.
2. Add Brake Fluid: Use a syringe to inject the brake fluid into the brake fluid reservoir. Slowly inject the fluid, ensuring no air bubbles enter the brake line.
3. Bleeding the System: Use a bleeding tool to remove air bubbles from the hydraulic system. While bleeding, slowly pull the brake lever until all air bubbles are completely removed.
7. Fine-Tune the Brake System
1. Check the Brake Performance: Gently press the brake lever to check if the brake caliper smoothly clamps the brake disc, and ensure there is no oil leakage in the system.
2. Adjust the Brake Feel: If the brake lever feels too soft or too tight, adjust the brake fluid level or brake caliper position to improve the feel.
3. Test Ride: Conduct a short test ride in an open area to ensure the brake system is working correctly and provides adequate braking power.
8. Conclusion
Installing a hydraulic disc brake system requires some skill and patience, but by following the steps above, you can complete the installation and ensure the safety and performance of your braking system. If you're unsure about any step in the installation process, it's recommended to seek professional technical support.


